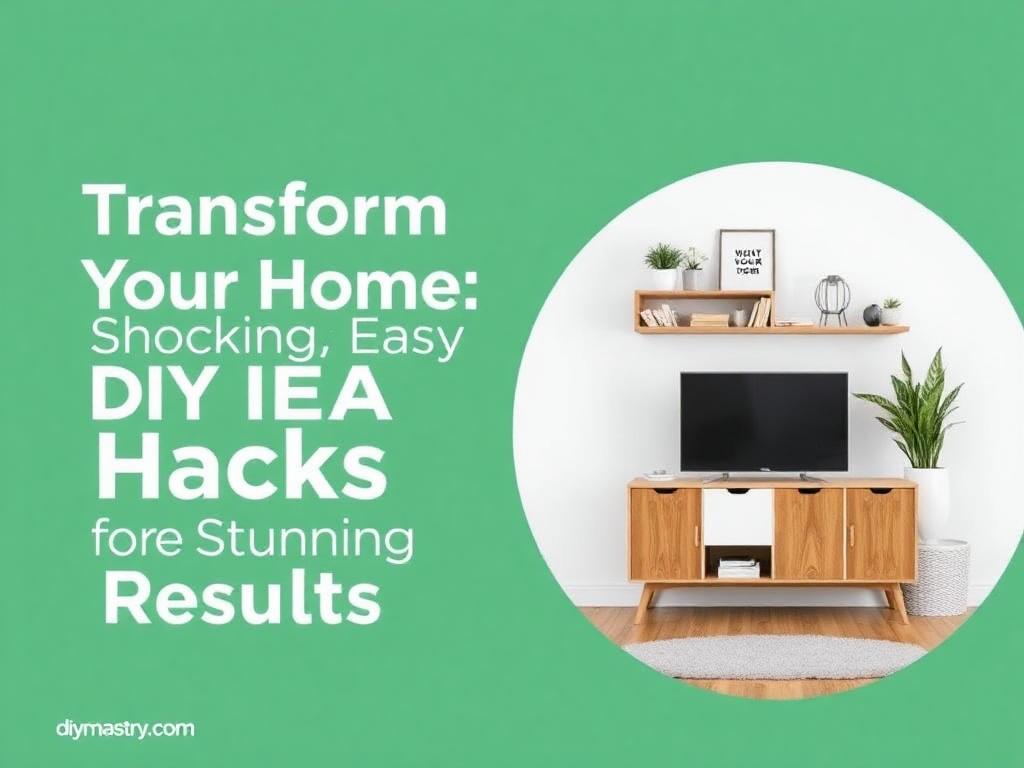
Top DIY IKEA Hacks: Creative Ways to Transform Your Furniture and Elevate Home Decor
 |
| Discover how simple IKEA furniture can be transformed into stunning DIY creations, perfect for elevating your home decor on a budget |
Are you looking to elevate your home decor without breaking your budget? DIY IKEA hacks offer affordable yet stylish ways to transform ordinary furniture and accessories into unique pieces that can make your space feel high-end. This article will guide you through several easy and impactful IKEA hacks that can add character and charm to your home decor.
Why Choose IKEA for DIY Hacks?
IKEA is known for its versatile and affordable furniture. The simplicity of their designs allows for easy customization, making it an ideal choice for DIY enthusiasts. Whether you're looking to reimagine storage solutions, create bespoke home accessories, or revamp existing furniture, IKEA provides a strong foundation for your projects.
Getting Started with DIY IKEA Hacks
Here are some easy-to-follow hacks that you can start with, regardless of your DIY experience:
1. Elevated Pet Dining Station
- Materials Needed: An IKEA wooden tray, mini candlestick holders, spray paint in black, and your choice of contact paper.
- Instructions:
- Attach candlestick holders upside down on the corners of the tray using hot glue.
- Spray paint the entire tray black and let it dry.
- Apply contact paper in a fun pattern (like cheetah print!) to make it stylish and functional. This elevated dining station will not only look chic but will also help keep your floors clean from spilled food.
2. Antique-Look Frame
- Materials Needed: A simple black frame, corner molding pieces, adhesive pearls, gold rub and buff.
- Instructions:
- Glue the molding onto the frame to give it a more ornate look.
- Add adhesive pearls around the edges and paint both the frame and the added pieces with gold rub and buff. This transformation gives a luxurious feel to an otherwise basic frame.
3. Spice Jar Upgrade
- Materials Needed: Clear spice jars from IKEA with chrome lids, gold spray paint, and rub and buff for depth.
- Instructions:
- Spray paint the lids gold and let dry.
- For added texture, apply rub and buff to emphasize the gold finish. This subtle touch can elevate the overall aesthetic of your kitchen.
4. Custom Canisters for Healthy Snacking
- Materials Needed: IKEA canisters, gold vinyl stickers.
- Instructions:
- Using your Cricut or similar device, cut out fun labels like "Healthy Hot Chocolate" and affix them appropriately to your canisters. This not only keeps your kitchen organized but also adds a personalized flair.
5. DIY Floral Arrangement
- Materials Needed: Clear vases from IKEA, faux flowers, hot glue.
- Instructions:
- Create your arrangement by bending the stems as necessary, and enhance the look by securing some flowers with hot glue to keep them positioned elegantly.
- Mixing and matching different textures and colors will make this arrangement timeless and classy.
Tips for Successful DIY Hacks
To ensure that your DIY projects turn out as beautifully as you envision:
- Plan Your Projects: Take time to brainstorm and sketch your ideas before you start. Gather inspiration from various sources, including Pinterest and home decor magazines.
- Use Quality Materials: While hacks are about reimagining inexpensive items, using quality tools and paints can greatly affect the final result.
- Experiment and Customize: Don’t be afraid to add your unique touch; consider using different colors, materials, and accessories.
Expand Your Creativity with Advanced IKEA Hacks
If you're ready to take your DIY skills to the next level, consider exploring advanced IKEA hacks that blend functionality with aesthetics. These ideas are perfect for creating one-of-a-kind furniture and home decor pieces.
1. Convertible Workspace
- Materials Needed: IKEA wall-mounted table, chalkboard paint, and shelf brackets.
- Instructions:
- Paint the tabletop with chalkboard paint for a writable surface.
- Install shelf brackets to allow the table to fold against the wall when not in use, saving space in smaller rooms.
2. Floating Nightstand
- Materials Needed: IKEA shelf, LED strip lights, and a small wireless charger.
- Instructions:
- Secure the shelf to the wall next to your bed.
- Attach LED lights underneath for a soft glow and integrate the wireless charger for added convenience.
3. Outdoor Patio Bench
- Materials Needed: IKEA storage boxes, weatherproof cushions, and wood stain.
- Instructions:
- Stack storage boxes to the desired height, securing them with screws.
- Stain the wood and add cushions for a durable and stylish outdoor seating solution.
Integrate Your DIY with Technology
Don't miss the chance to pair your DIY projects with smart home technology. For instance, integrating IKEA furniture with devices like Amazon Echo or Philips Hue can enhance the functionality of your living space. Learn more about smart home integration in this article about IKEA and smart homes.
Watch the Video Tutorial
For a visual guide, check out this comprehensive video tutorial to inspire your next DIY IKEA hack:
Additional Resources
Explore more creative ideas and techniques for your DIY projects:
With these resources and tips, you're fully equipped to start your next project and elevate your home's design effortlessly!
Conclusion
Transforming your space with DIY IKEA hacks doesn’t have to be complicated or expensive. With minimal effort and a bit of creativity, you can achieve a high-end look that reflects your personal style. Each project highlighted here is a perfect example of how small changes can make significant differences.
Ready to elevate your home with these stunning ideas? Dive into the world of DIY and let your creativity shine through! For more inspiration, explore an array of IKEA hacks to customize your living space and reflect your taste.
Feel inspired? Share your DIY journey with friends or comment below with your favorite IKEA hack!


.jpeg)